6 Steps to Creating A Powerful Custom Braille Signs
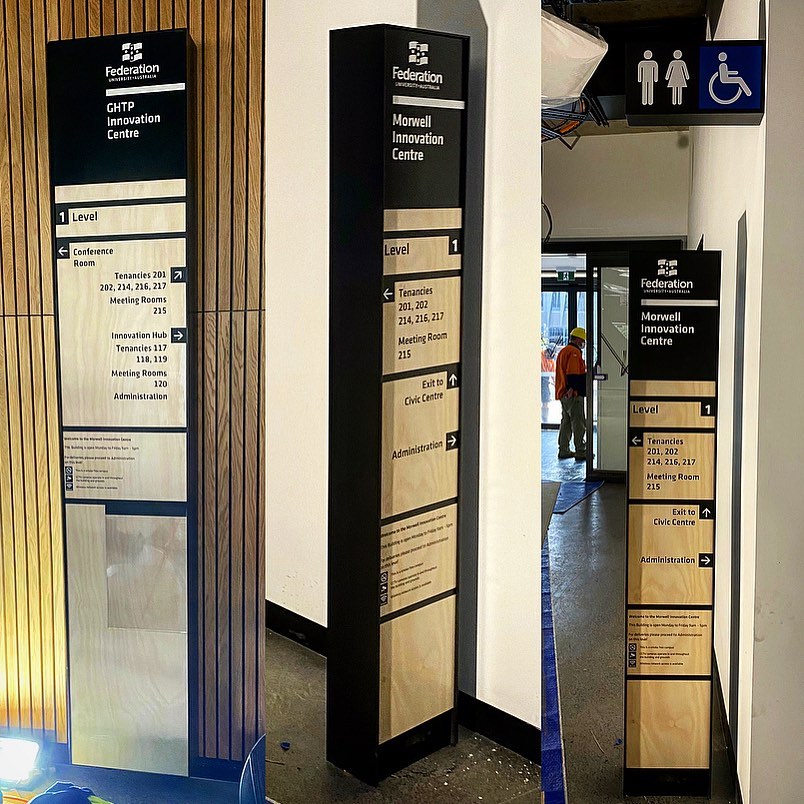
When you are starting a new business, your first step is usually creating your business identity. One of the crucial and essential aspects of your business is branding to make it successful and profitable. Following your branding design, the next critical step is signage. In many cases, people misjudge how creative you can be with your signage; You can customize it to boost your business brand and create lasting impressions on your clients or future clients! Braille signs Melbourne is vital to your facility! Although they appear normal to the naked eye, they also have the message written in Braille on them (raised bumps) so that they do not affect the sign’s visibility and ease access for visually impaired people. Assist the visually impaired in navigating the halls, spaces, hallways, and other areas like stairs in your church, school, or apartment property. Hospitals and other medical facilities must install Braille signs to help blind patients find their way around. It is critical to consider the location of these signs, or else they will be rendered useless. The following pointers might help you improve your sign installation Melbourne and make it easier for people to move around.
Braille is a series of raised dots representing text that allows the visually impaired person to scan the dots simply by touching them. These advanced points represent the letters of the alphabet, numbers, and words and symbols. If you are the business owner and have these custom Braille signs on your premises, it is simply an easy way to inform the general public that you are involved for the visually impaired. It could promote not only a sense of accomplishment but also create an intelligent reputation for your company.
Keeping everything in the notice, your business must be accessible to everyone. Having Custom Braille Signs helps people with hearing, vision, cognitive, walking, etc.
Here are 6 Steps to Creating A Powerful Custom Braille Signs
-
Gather your supplies.
Before printing begins, ensure that all necessary supplies are on hand to ensure that the process runs as smoothly as possible. This includes having the proper printing hardware and software and the appropriate substrate material and ink.
-
Design the sign.
With your choice of sign design software, design how the sign will look, including the layout and colors, and where the Braille will be located and what it will say. Rather than requiring you to build your own from scratch, a range of sign design tools allows you to choose from a wide variety of standard sign models, allowing you the option of reducing project time.
-
Select the correct font, color, and content.
The font used is always uppercase and sans serif or simple serif. The characters and background of these Braille signs shall be eggshell, matte, or other non-reflective finish. Characters and symbols contrast with their experience, whether it is light charcoal on a dark background or dark charcoal on a light background.
-
Load the substrate.
You should have chosen your substrate material and finish by now, so you should be able to load it directly into the printer.
-
Set up the print job.
Send the file you created in your design software to the printing software, which will have unique capabilities for creating Braille compliant signs.
-
To print.
Wait for your poster to print. The entire print job typically takes about four minutes. Once it is complete, it is ready to hang. The ink should already be dry, so there is no need to wait any longer.
Braille allows you to read by touch if you cannot see and read written information. Braille enables blind or visually impaired people to receive critical information from plates and posters, thereby promoting equality and independence.